
What is one area in your house that you use every day….The Pantry!!
The panty is an area that should be high on your list to organize. It not only looks more pleasing to the eye when you go to get items but it will save you money on not rebuying things you already have. It will also save you time when you are meal planning to create recipes from what you have as well as locating items in recipes to see if you already purchased them.
When we remodeled our kitchen we decided to create a pantry with pull-out drawers and turn the worthless bar area into a walk-in pantry for larger cooking equipment, extra bulk food items, paper & plastic wear, cooking binders and more.
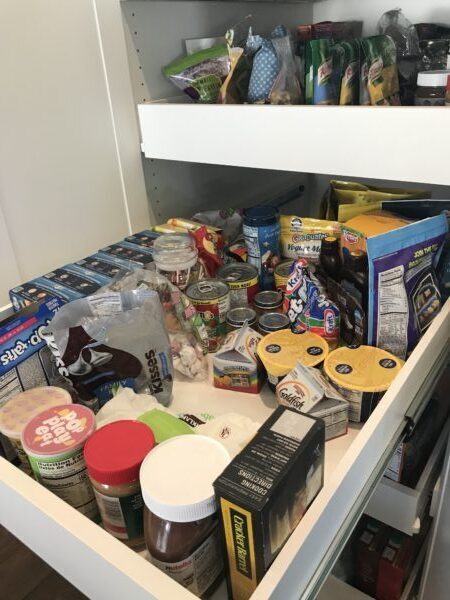
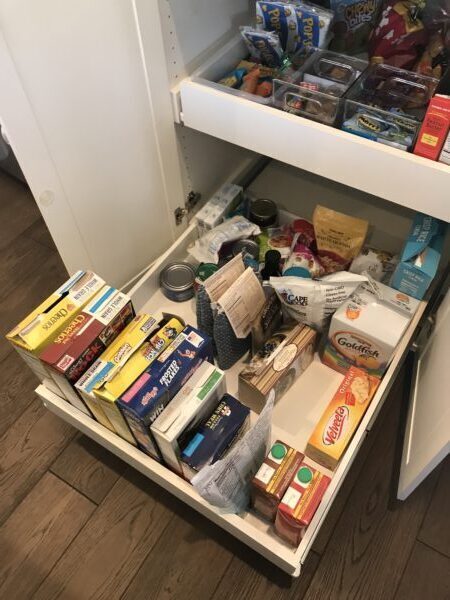
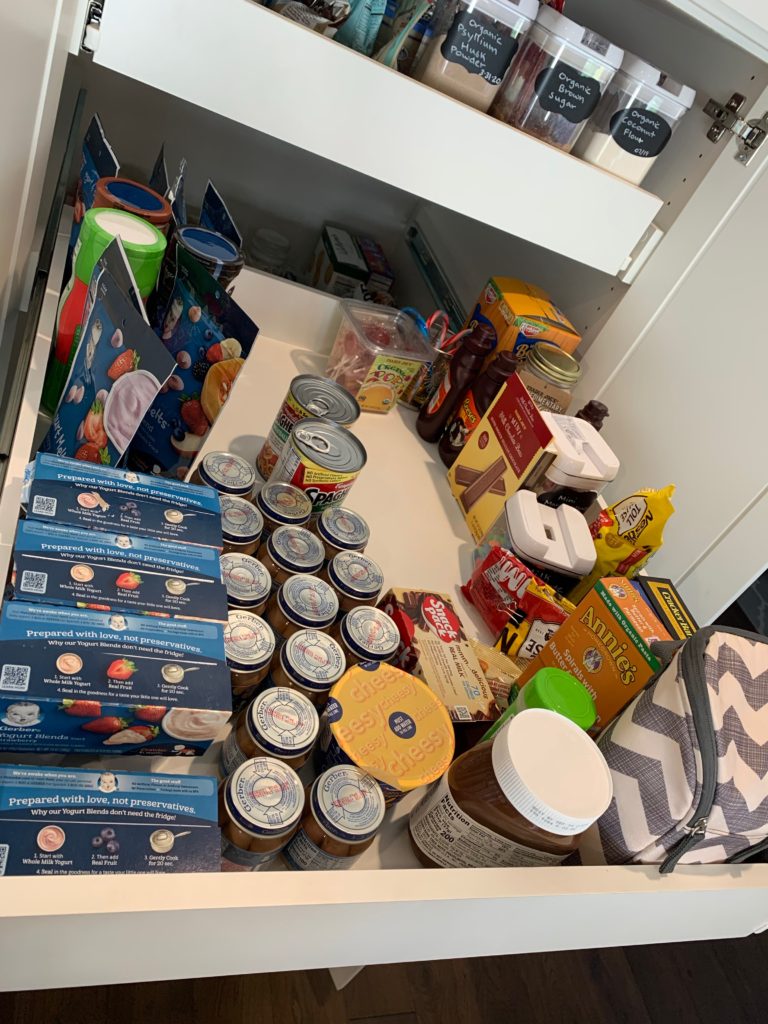
Here are the before pictures of what our pull-out drawer pantry looked like…yikes!!
First Action Item: I recommend starting with the decision of what items you want to be dedicated to what drawer or shelf depending on the layout of your pantry.
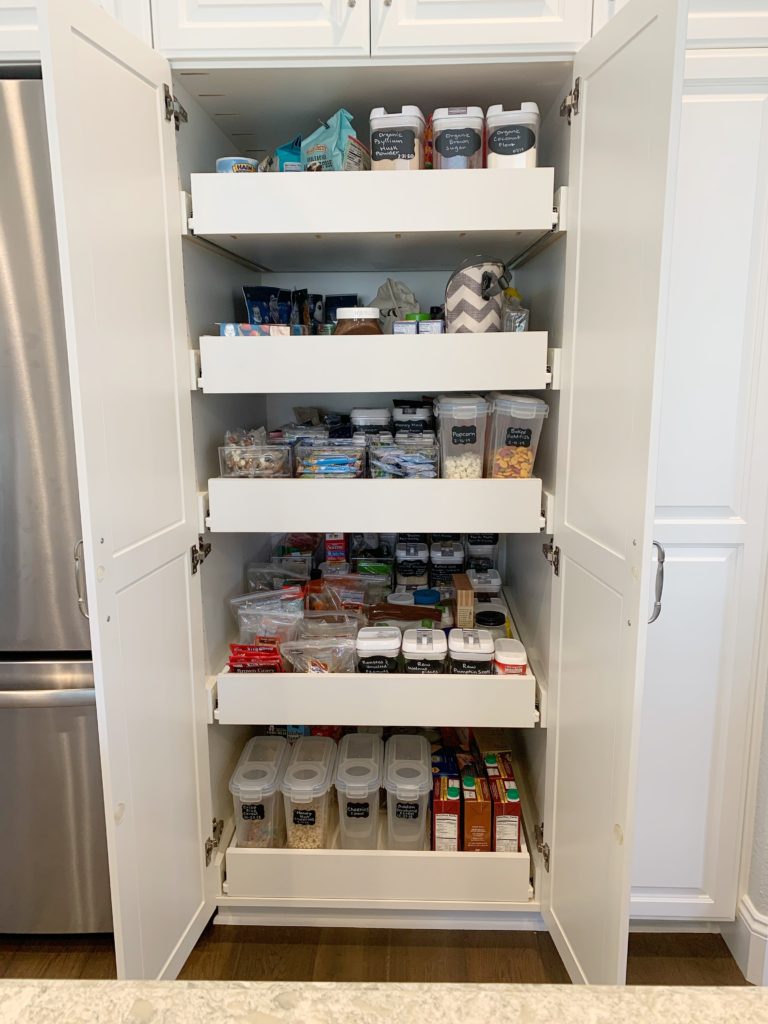
Here is how I categorized my 5 pull-out drawers:
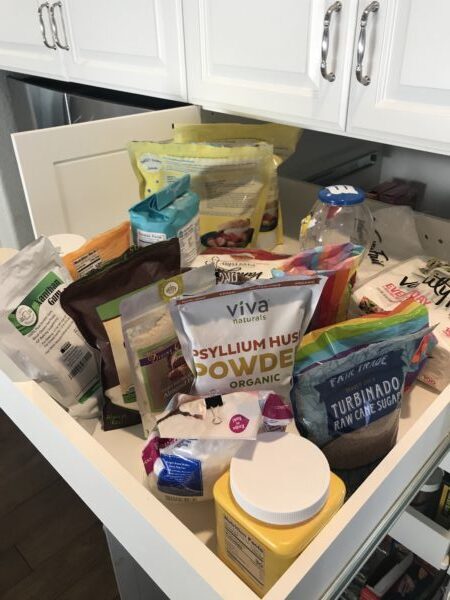
- Top drawer: Baking items and stored in the back extra candy that I don’t want my kids to know about or be able to reach, haha
- Second to top pull-out: kid food- spaghetti O’s, yogurt melts, mac & cheese, Nutella, Gerber baby food and toppings for when we have build your own ice cream sundae’s.
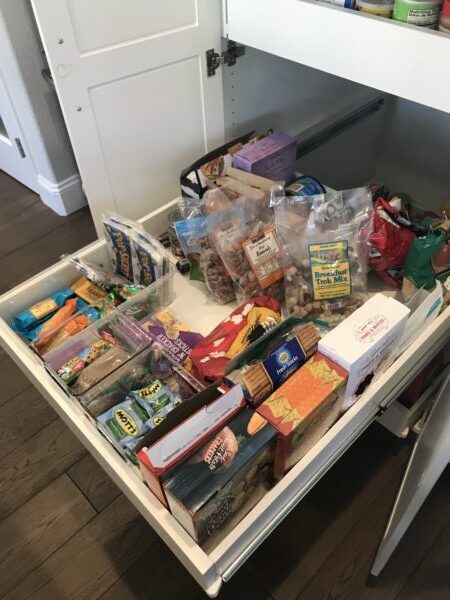
- Middle pull-out: Snacks for kids and adults. I wanted this drawer to be one that the kids could access so all items in here they are allowed to have when they are hungry.
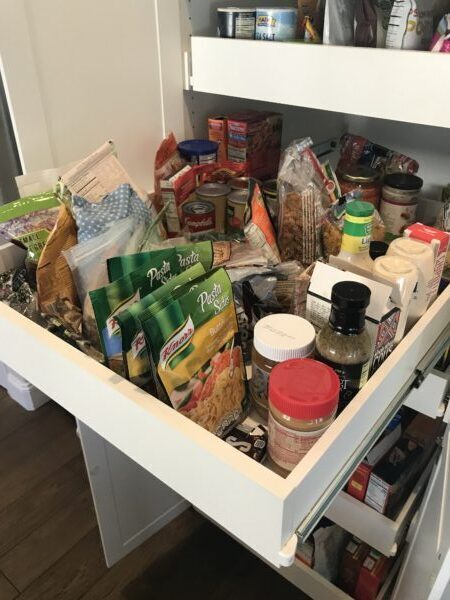
- Second to bottom drawer: pasta, nuts, rice, cooking mix packets, peanut/almond butter, pasta side dishes, dried berries & fruit, and all other grains.
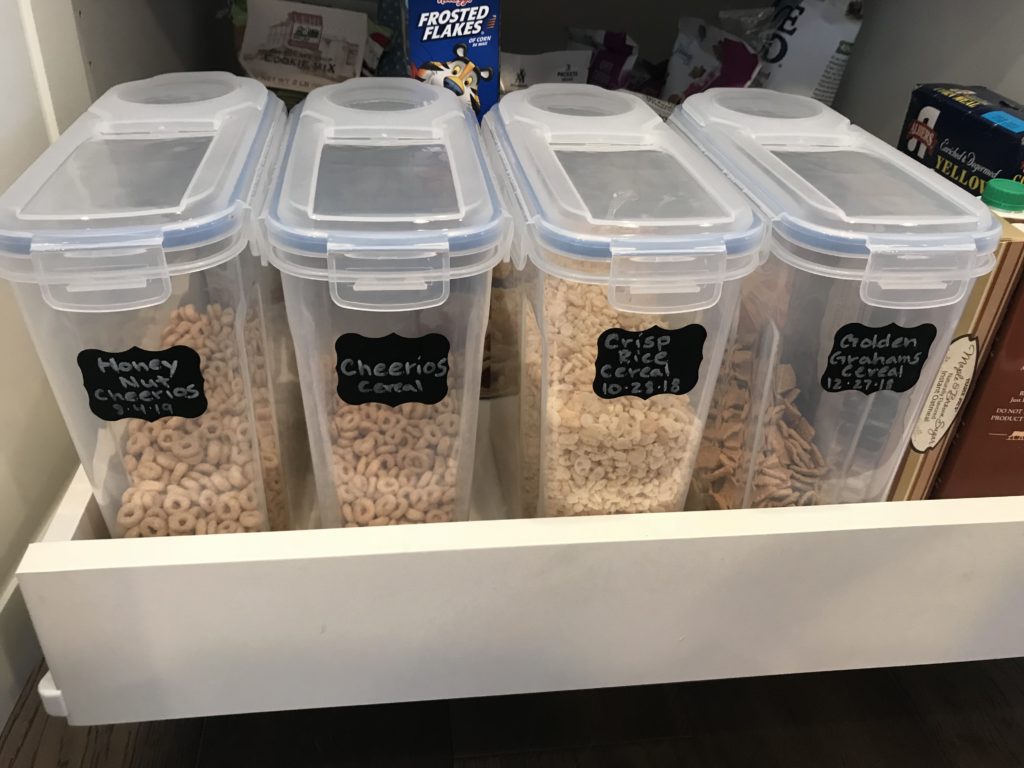
- Bottom shelf: cereal, extra unopened boxes of crackers, chicken stock, pasta sauce, etc. This is a good drawer to use for heavy items.
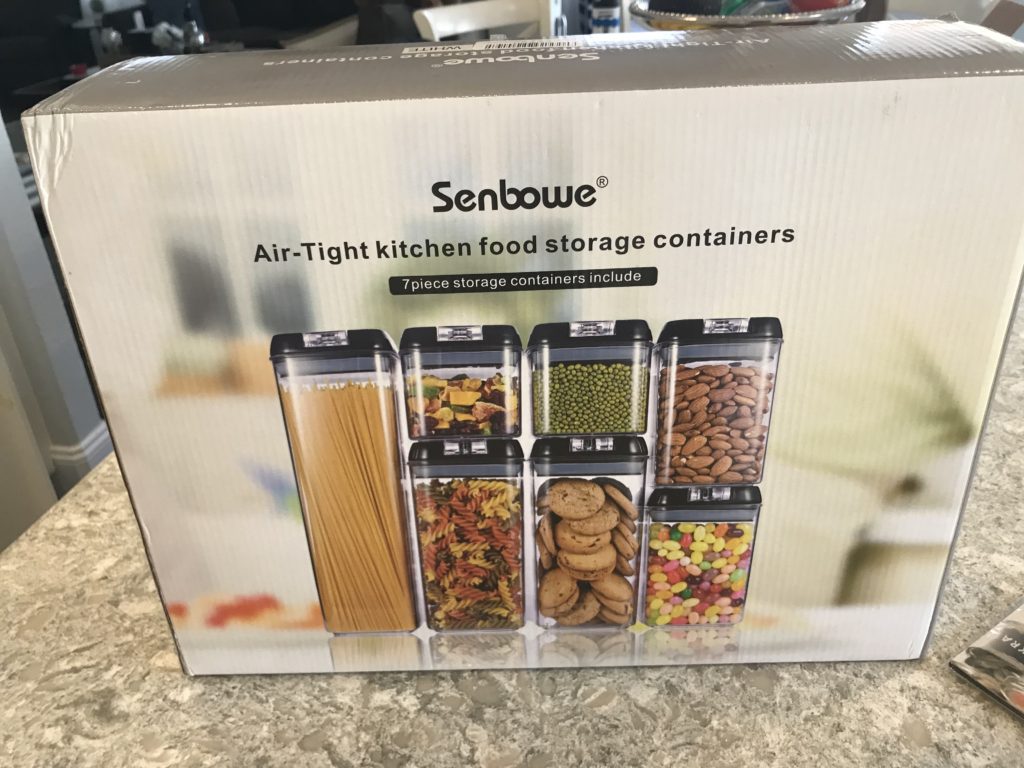
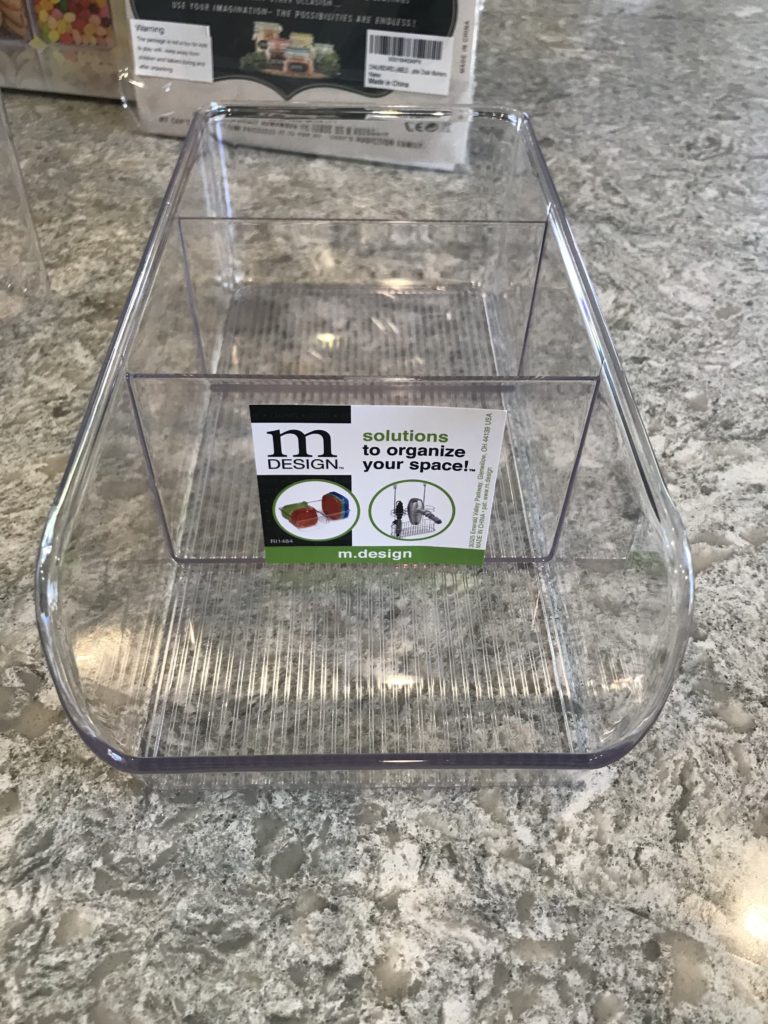
Second Action Item: From here I got to work finding containers and organizers that would help me store my food in airtight containers and to help separate and group like items together. The idea is to get rid of the bulky packaging things come in and to be able to store food to keep the freshness for as long as possible.
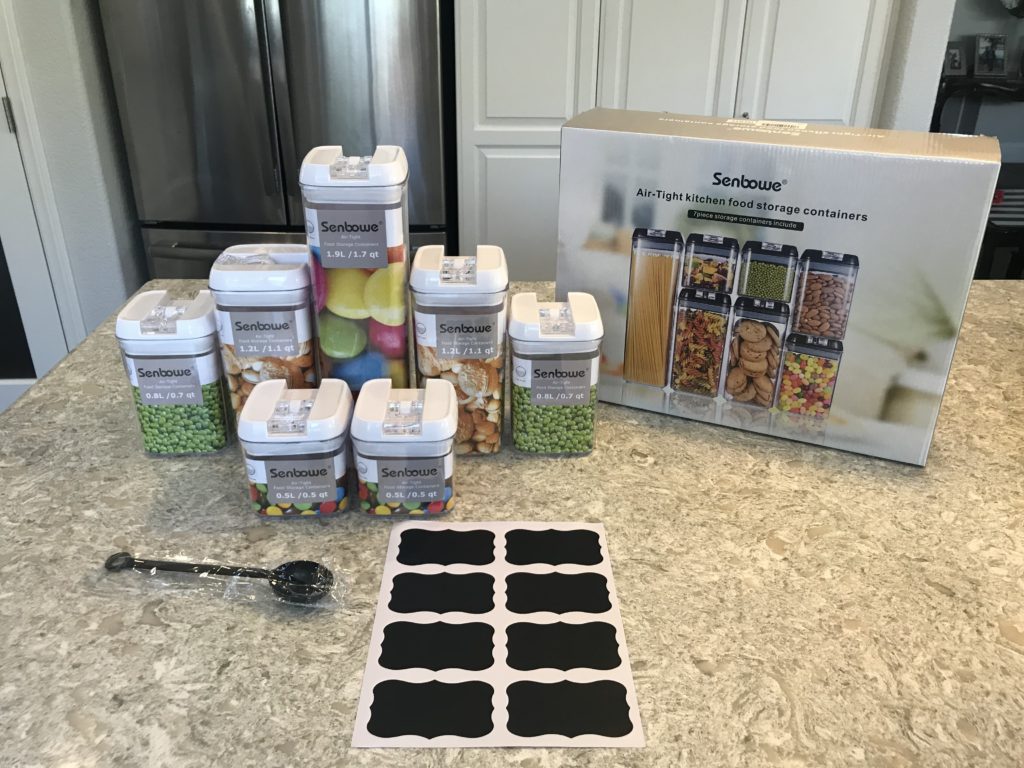
Here are the containers and organizers I decided on:


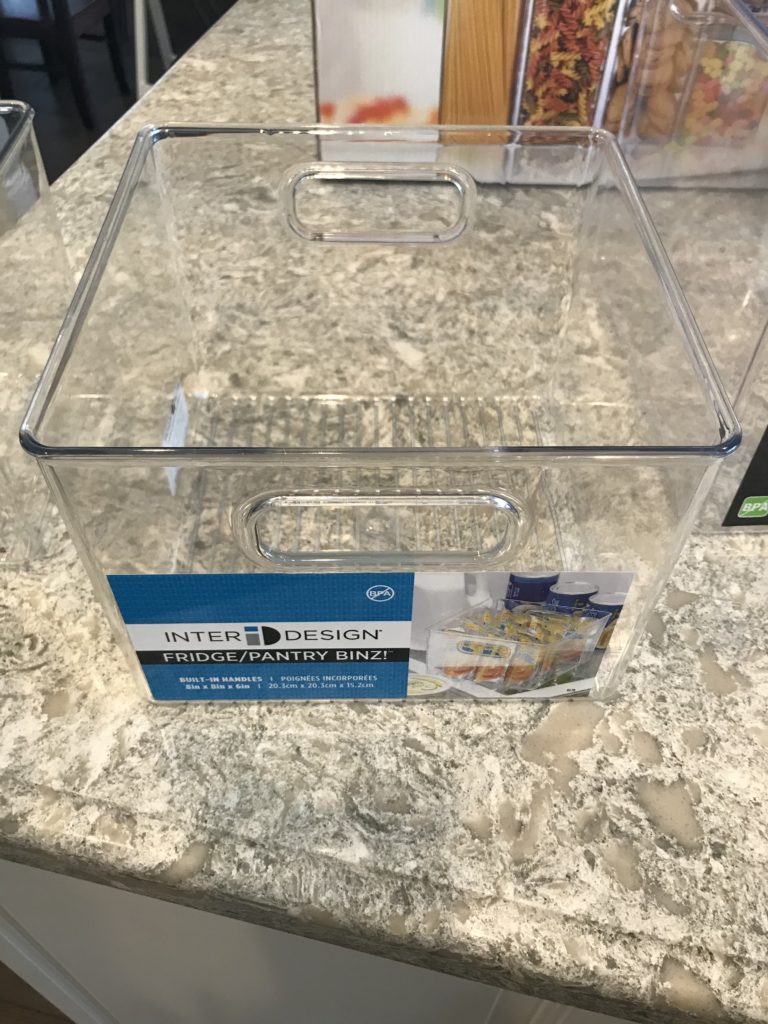
snacks, granola bars & nut packs
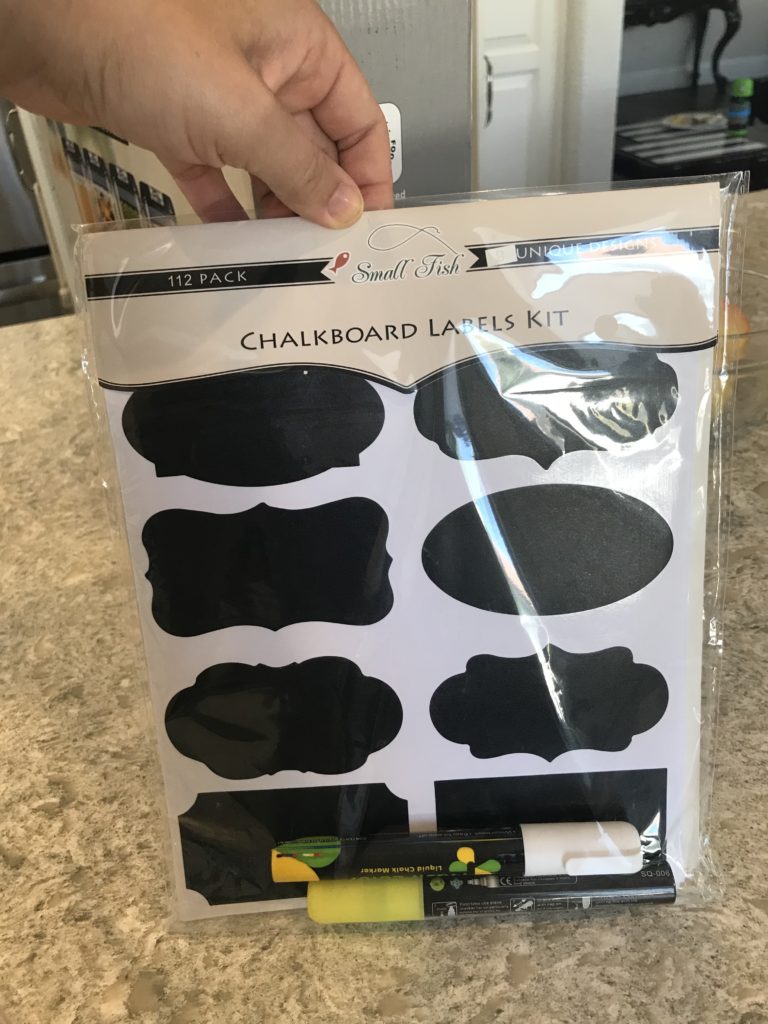
I ordered these chalkboard labels to put on all my airtight containers. The great thing about them is they are large enough to write out cooking instructions. For staple items you will rebuy, you can refill the container and not have to memorize how to cook it. It comes in handy for pasta, quinoa, couscous, rice, etc.
**Remember you can always buy more so start out modestly and add to it as you see the need.
**I went with clear plastic containers instead of baskets for the pantry so you can visibly see what was in each, know when you are low on an item and have them be wipeable.
Full Discloser: I always want to recommend items to you that are of great quality and after a short period of time I was disappointed with the Senbowe airtight containers and do not recommend them. Instead, I would go with these. The knobs at top break very easily and some of the tops have broken on me after not using them for long. Also, for storage glass is a better material to use instead of plastic…live and learn! I will replace them down the line. I’m still happy with the other organizers I purchased.
Third Action Item: Take everything out of drawers or shelves and wipe everything down. You want to start off with a clean slate.
Here are the after pictures of each pull-out drawer:
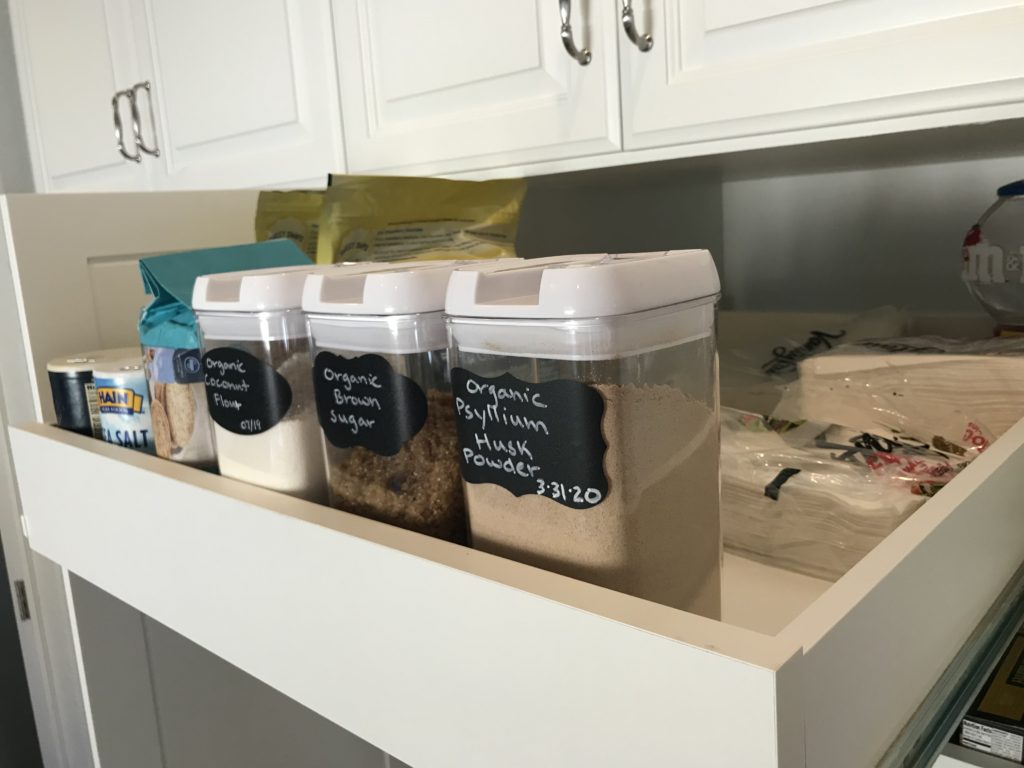
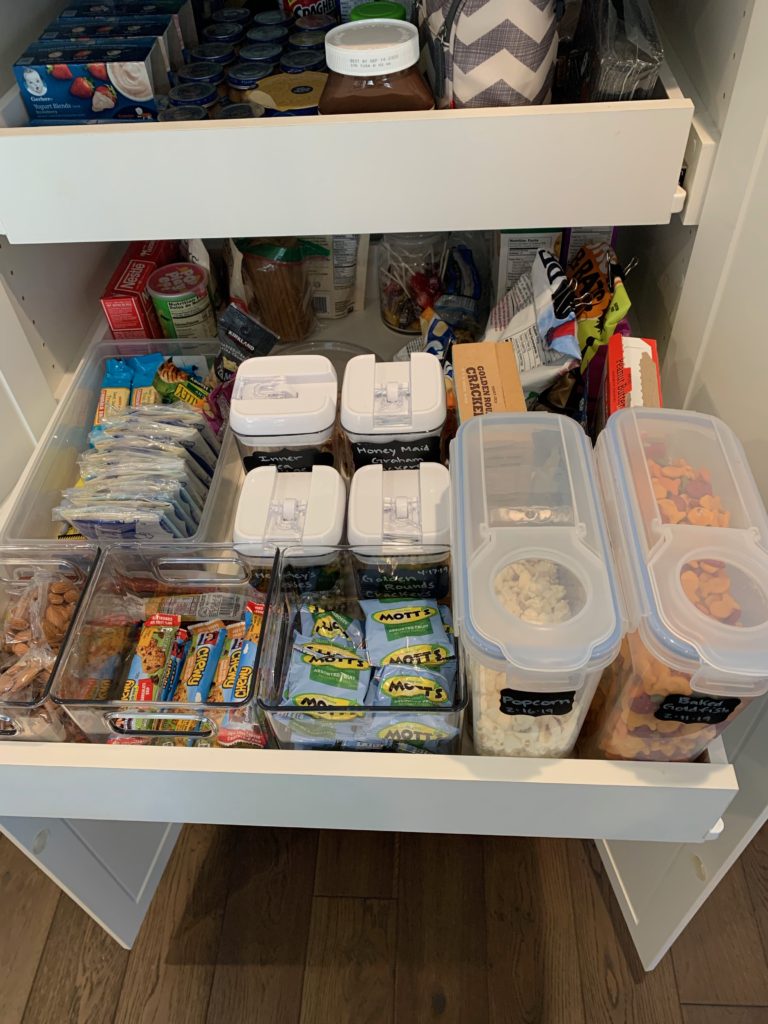
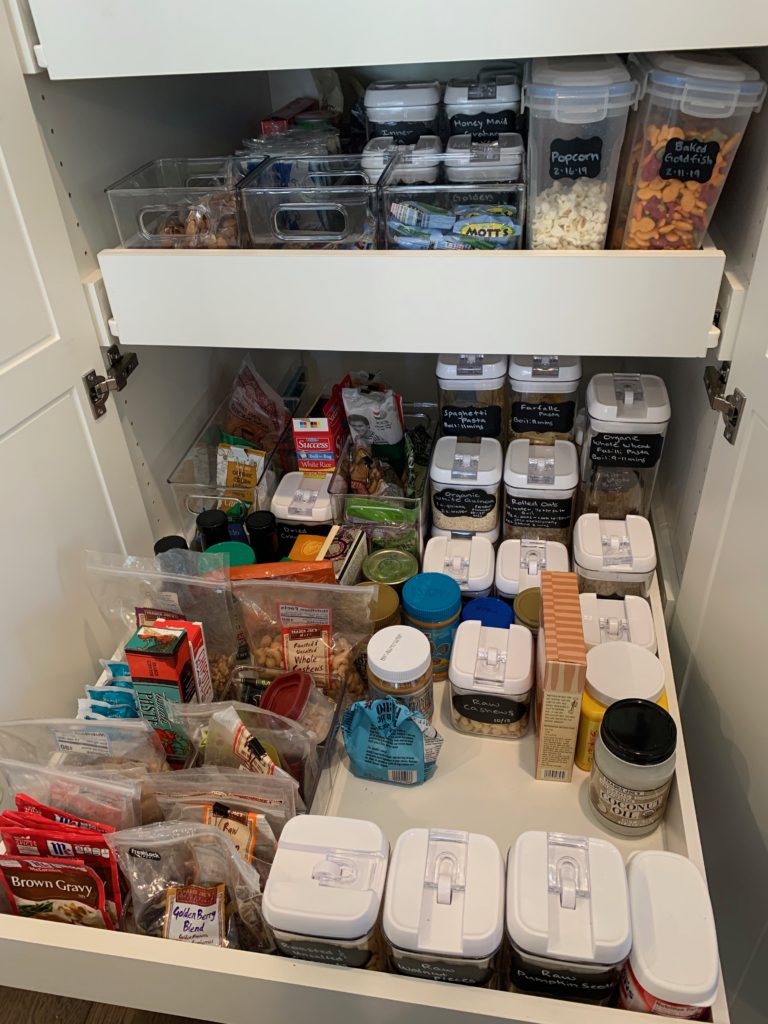
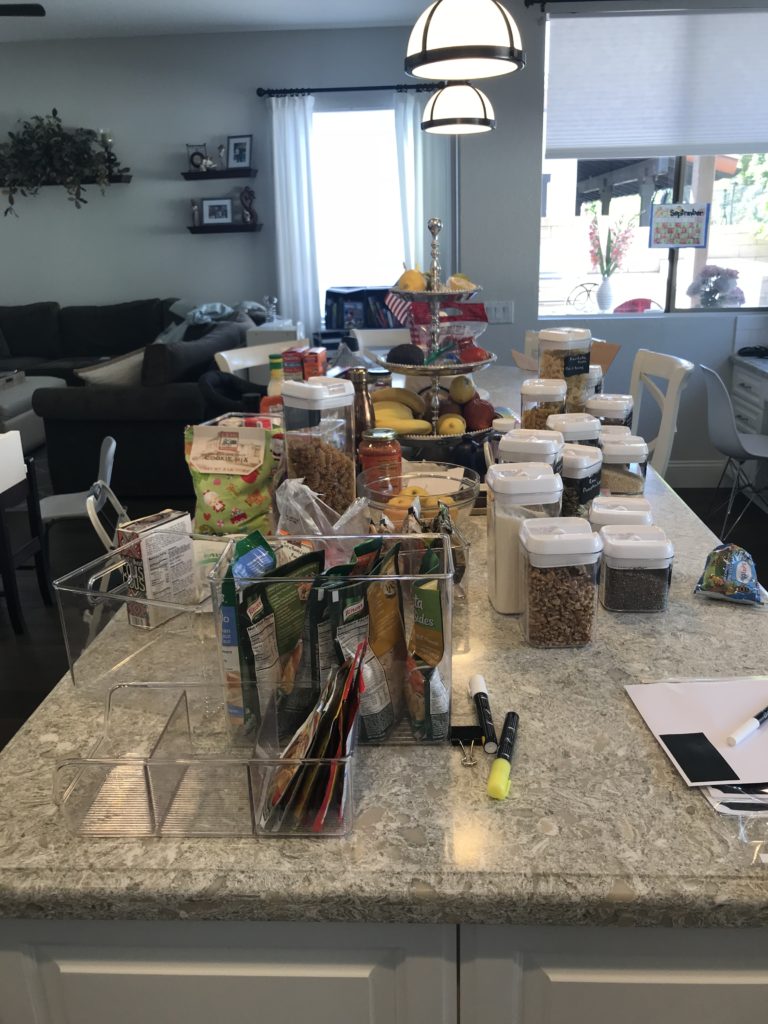
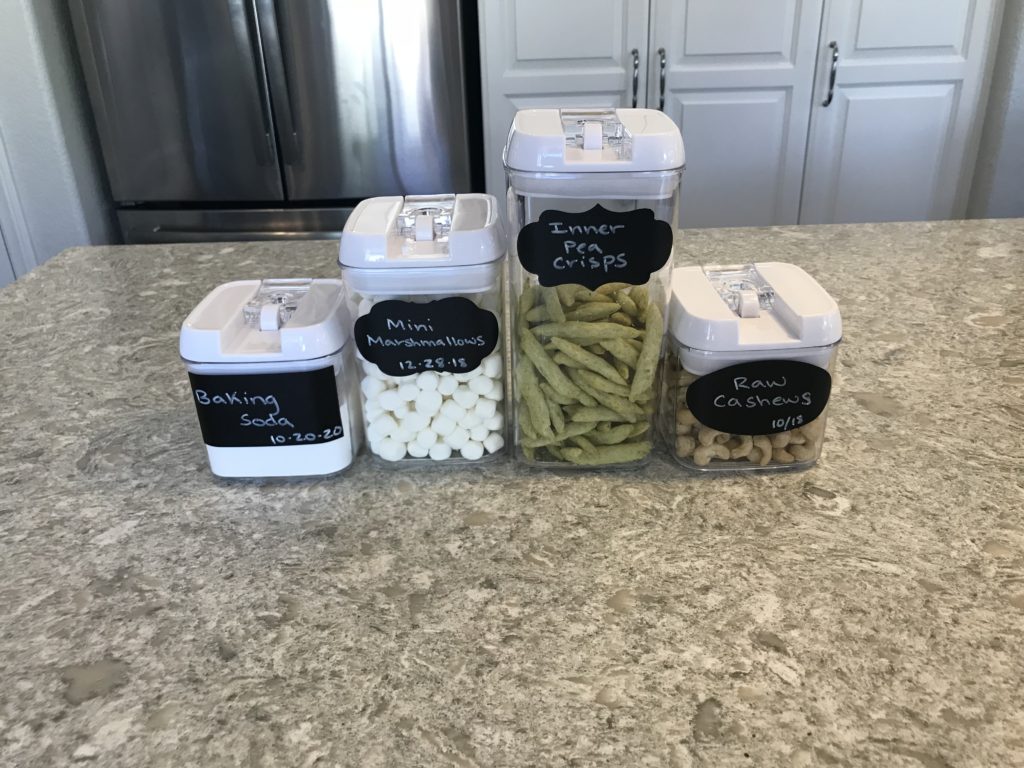
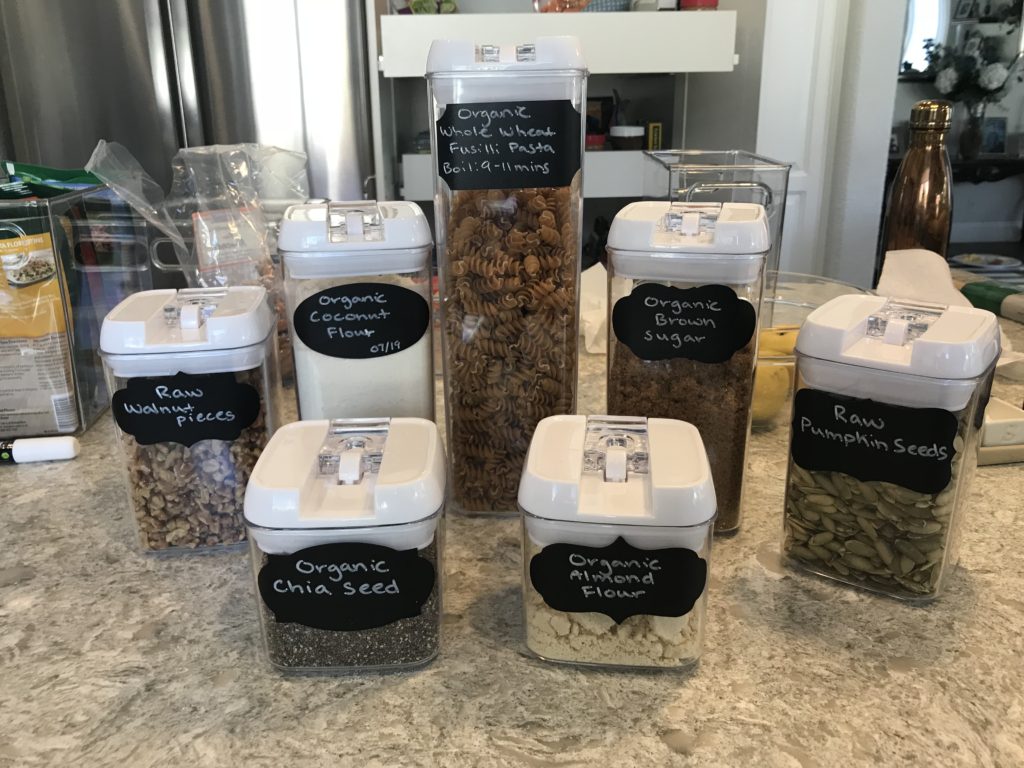
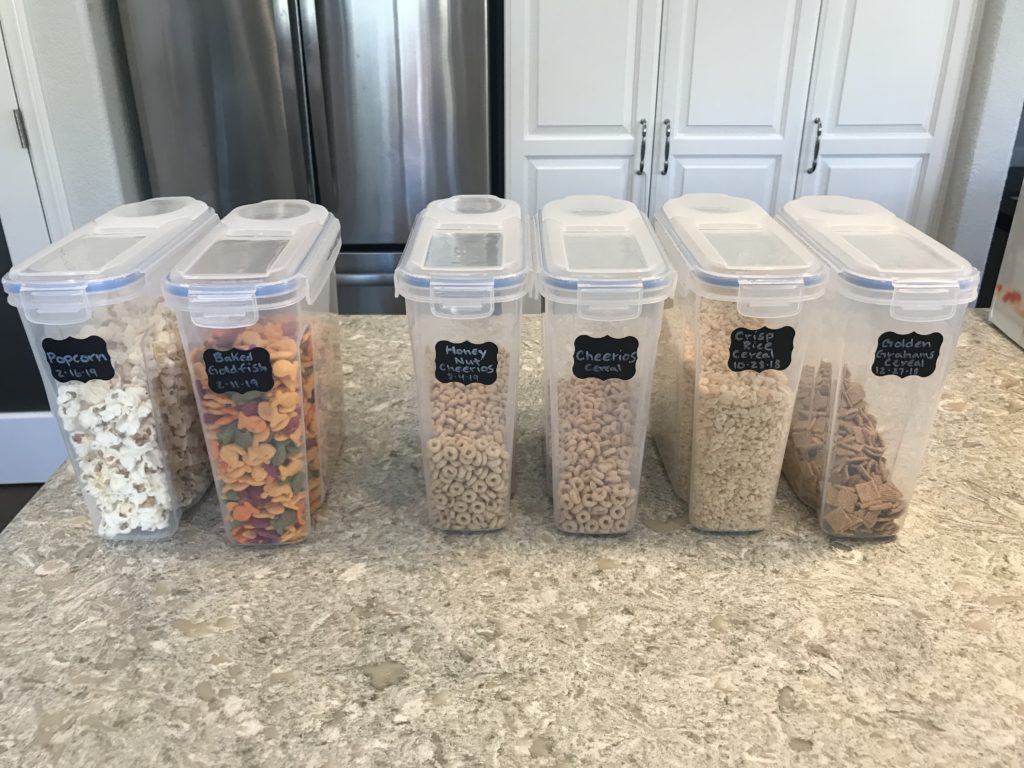
Here are some pictures showing what I put into the airtight containers:


Fourth Action Item: Once you are finished…admire all your hard work!!
For our walk-in pantry: I used the same thinking strategy. What do I want on each shelf…what items should be moved to the higher shelves and where would the larger kitchen equipment be best??
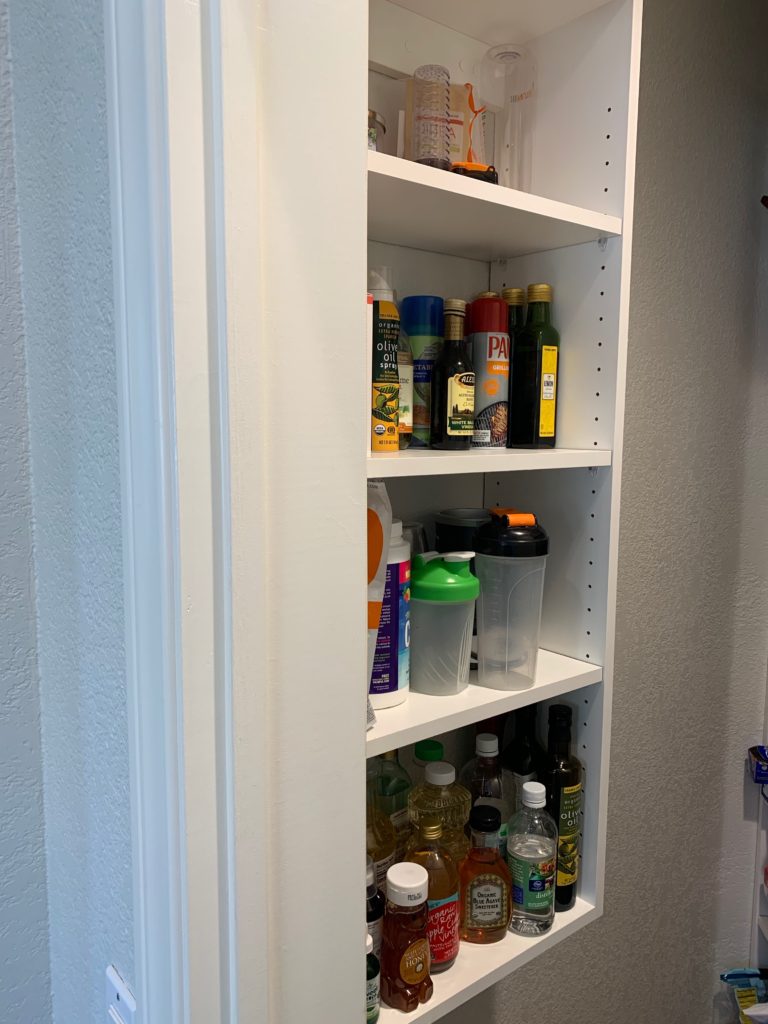
When I had this area redone, I had some small shelves installed to have easy access to items like our bullet blender, oils, cooking sprays, items for the shakes we make, and candles. It’s good to think of what your needs are if you have the opportunity to redo an area in your kitchen. Here’s what that area looks like:
Here’s how I organized the shelves in our walk-in pantry:
Top Shelf: Large roasting pan, bbq cooking utensils and extra spice containers for future needed spices.

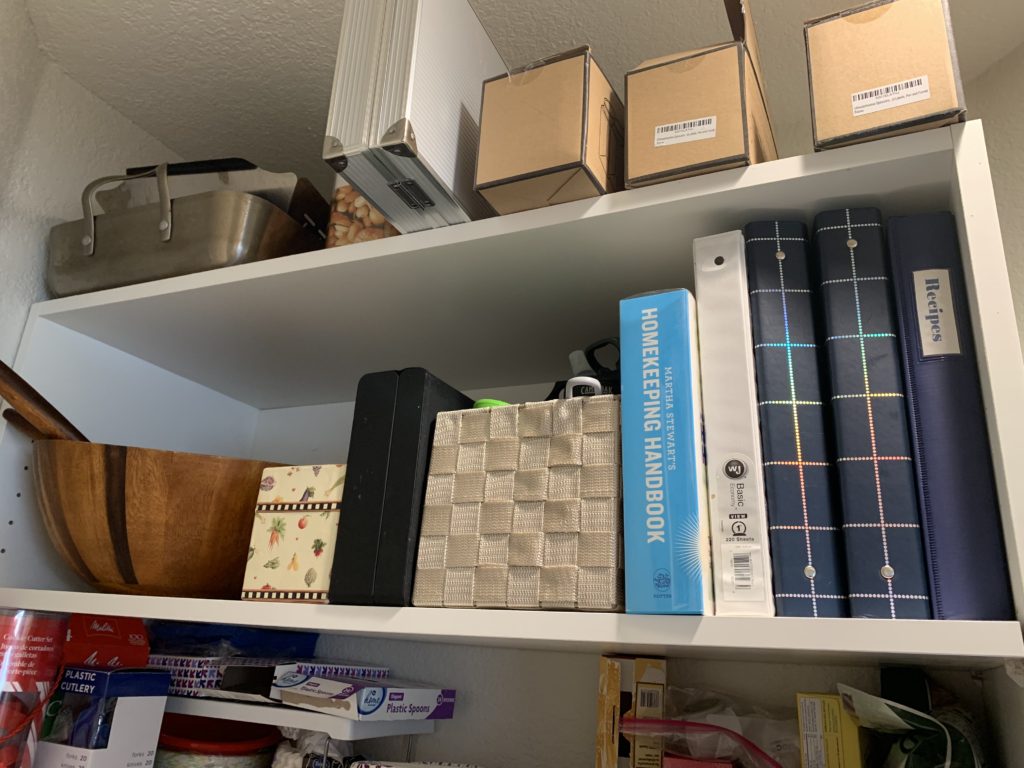
Second to top shelf: large salad bowls, cooking binders with recipes, wine opening tools, and extra water bottles.
Third to top shelf: Disposable utensils, paper plates, bread, extra teas, and sweeteners.

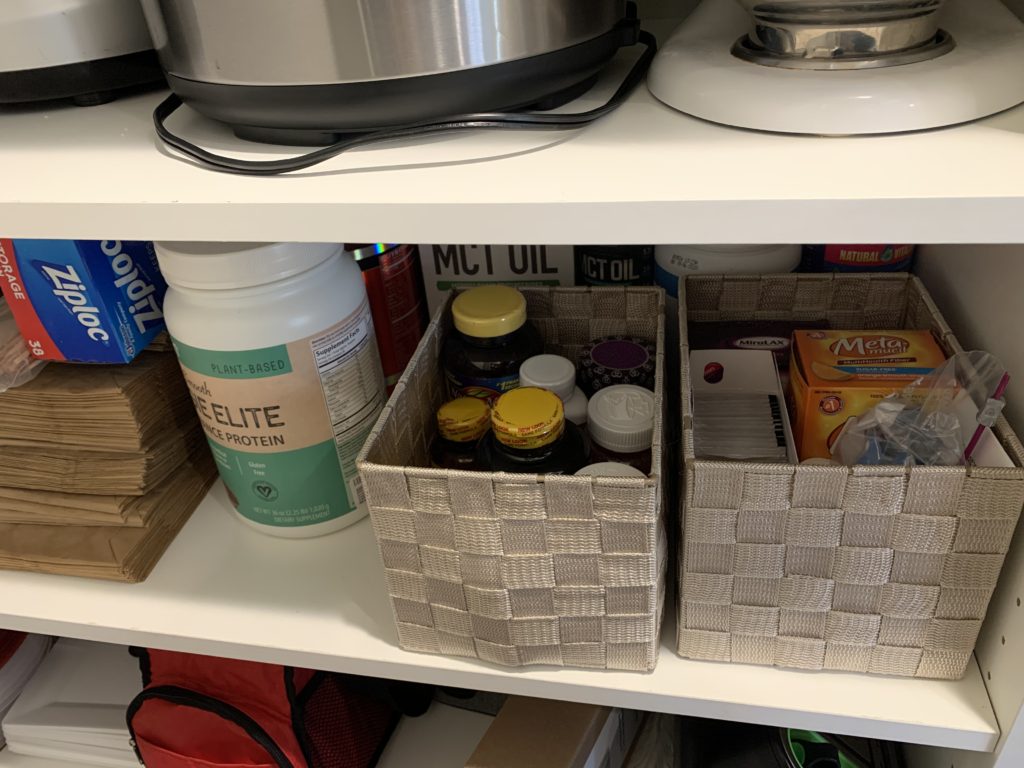
Middle Shelf: Large appliances such a blender, an , mixer, and fryer. You always want these types of items in an area where it’s easy to grab when needed because they are heavy, so don’t put them high up in your kitchen.

Third To Bottom Shelf: Extra vitamins, protein powders, paper bags, plastic cups, extra foil & plastic wrap.
Second to Bottom Shelf: Foodsaver, Isolated travel lunch boxes & bags, extra storage containers, nice reusable plastic plates
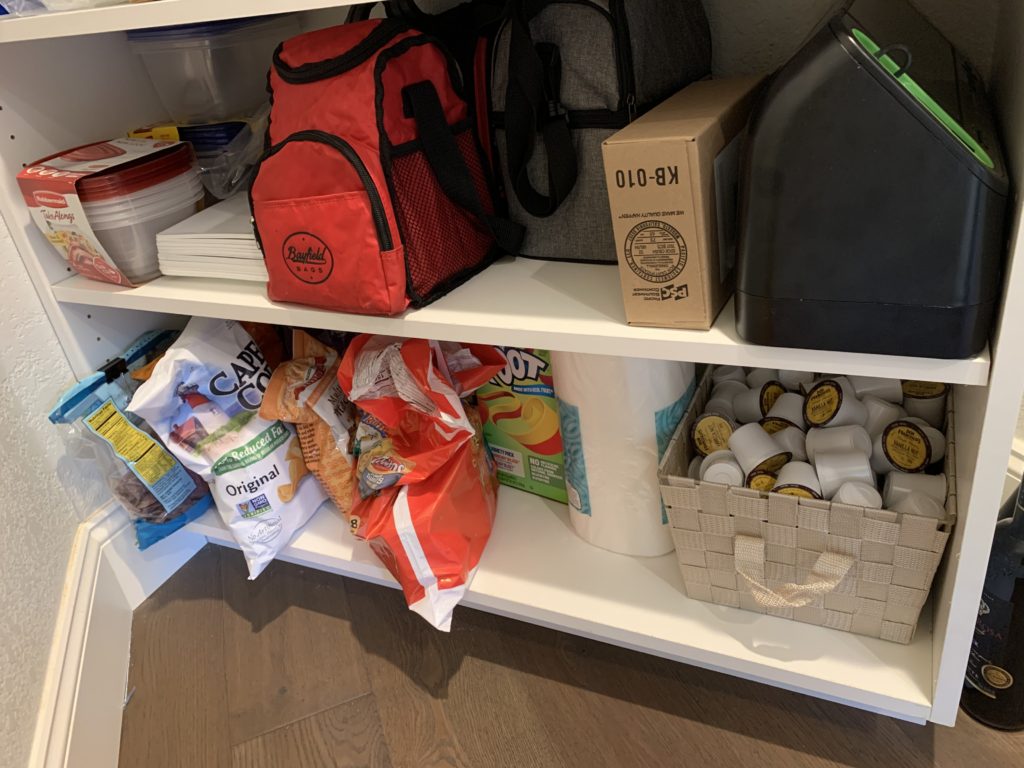
Bottom Shelf: Extra coffee cups, large stock food items like chips, crackers, fruit snacks, and extra paper towels so I don’t have to run out to the garage every time I run out. These or these bins would work well for chips and other snack items.
Tips:
** Think about what would be most functional to you and your family when deciding where things go.
** What needs a bin?? Decide how many you need and what size. I found mine in these pictures for cheap at Micheals.
I hope this post has motivated you to organize your pantry. It takes a little time to get it all organized but once it is finished, it will save you time, money and make you happy seeing everything organized.